Teaching families how to cook real food, with good ingredients, just like grandma would've made... if she cooked without eggs, dairy, or peanuts/nuts!
Saturday, February 1, 2014
Brownie Stackers - Video tutorial!
Wondering if there's a special sweet treat you can serve for the "big game"? Here's a tutorial for:
Tuesday, January 28, 2014
Leek tops - another valuable freebie!
One of my family's favorite winter dinners is Potato Leek Soup with homemade artisan bread. The recipe calls for a lot of leeks, which leaves me with a counter full of beautiful bright green leek tops. I try to make the most out of each food item I purchase, so I always save my leek tops for making stock. Here's how I do it!
Rise them just as you would the white tender part that gets cooked. Fill a deep bowl with cold water. Roughly chop the leeks and add them to the water. Agitate them a bit with your fingers and then let them sit for 10-20 minutes while you give yourself a manicure. (Just making sure you were paying attention there...) The leeks will float and the dirt will sink to the bottom.
Lift the leeks gently from the water, place them on paper towels, and pat dry.
Look at all the dirt left in the bowl! That definitely doesn't belong in my soup!
Portion the leeks out into several quart sized freezer bags. I always label my bags with a "Use By" date so I don't end up with a freezer full of freezer burned foods. (I have a full sized, stand alone freezer, so I'm pretty comfortable with 1-3 months for most of my frozen foods.)
Next time you are making stock, add a bag of frozen leeks instead of an onion! Leek tops are another valuable "freebie" in my kitchen!
As always, from The Allergy Safe Kitchen, I wish you "Good Cooking, and Safe Eating"!
Friday, January 24, 2014
The Most Valuable Freebie in my Kitchen...
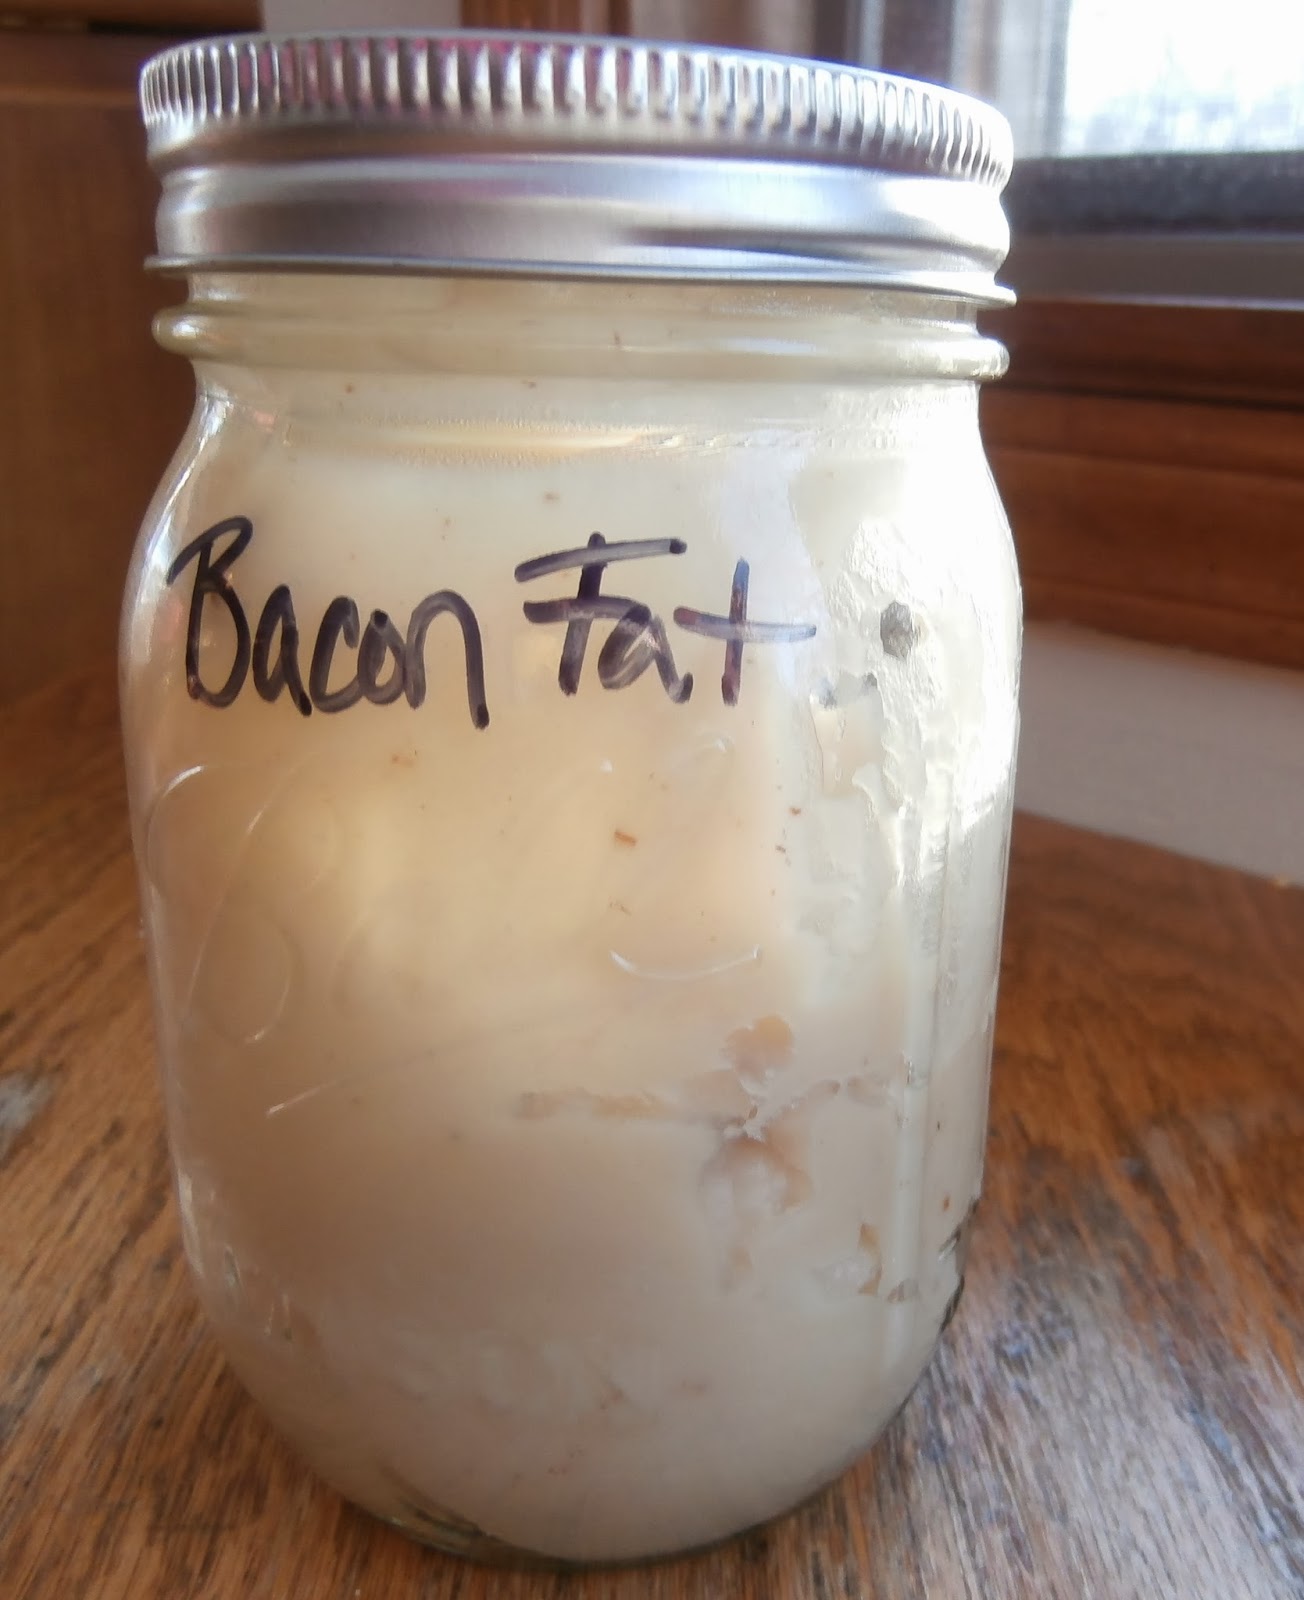
There is one food "freebie" that I use religiously in my kitchen. It is...bacon fat! I'm going old school right now, and suggesting that all of you, my dear readers, maintain a jar of bacon fat. Once you start cooking with it, you'll be seeing that beautiful white deliciousness as culinary gold.
To collect it, simply drain the fat out of the pan, or out of one of those nifty microwave bacon racks, into a heat safe container, I usually use a bowl. Allow the fat to cool a bit before moving it to a mason jar. Then, cover and store. I prefer to store mine in the fridge, but you could store it in the freezer if you have a copious amount that you won't use within a month or so.

There are two camps on whether or not to strain out the little brown bits from your bacon fat. Some cooks always strain it, and some never do. If you are going to use it fairly quickly, I vote to leave those golden brown bits in for the extra flavor they bring to the party. However, if you'll be storing the fat for a while, strain them out, as they contribute to turning the fat rancid more quickly.
To collect it, simply drain the fat out of the pan, or out of one of those nifty microwave bacon racks, into a heat safe container, I usually use a bowl. Allow the fat to cool a bit before moving it to a mason jar. Then, cover and store. I prefer to store mine in the fridge, but you could store it in the freezer if you have a copious amount that you won't use within a month or so.
There are two camps on whether or not to strain out the little brown bits from your bacon fat. Some cooks always strain it, and some never do. If you are going to use it fairly quickly, I vote to leave those golden brown bits in for the extra flavor they bring to the party. However, if you'll be storing the fat for a while, strain them out, as they contribute to turning the fat rancid more quickly.
| Apple Maple Chicken Sausage browned with bacon fat. Breakfast doesn't get much better than this. |
*I also suggest using organic bacon. Yep, I used the "o" word. Calm down, I know, I can hear you now..."It's so expensive!" Yes, it is a bit more pricey than "regular" bacon, BUT, you are getting a quality product that does not contain synthetic chemicals, additional nitrites and nitrates, or GMO laden ingredients. AND if you save the rendered fat, you'll have beautiful organic cooking fat for other dishes. This is one instance where I recommend consistently buying organic.
Friday, January 17, 2014
Crock Pot Stock
For years, I've been making delicious homemade chicken stock in my giant pot. And, if I need a LOT all at once, I'll still do it that way. But, recently, I've started making amazingly rich stock while I sleep. Yep, while I sleep. This isn't some kind of domestic diva transcendence, I'm just putting that workhorse of the kitchen to good use: the humble slow cooker, a.k.a. the crock pot. I make one or two whole chickens per week in the crock pot. I use them for chicken salad, sandwiches, for chicken with pasta, to provide tender meat for the babies, etc. I have done this for a long time, and I always got a little bit of concentrated stock in the bottom of the crock pot. In the past I would save it, freeze it, and then add it to the "big pot" when making a big batch of stock. No more, readers, No. More. Now I have realized I can get a whole crock pot full of that amazing, concentrated stock with very little extra effort! Here's how:
*This recipe is peanut-free, tree nut-free, dairy-free, egg-free, wheat-free, soy-free, fish-free, and shellfish-free. As always, check this ingredient list and your local products to make sure that this recipe is allergy safe for your family and/or friends!
Crock Pot Stock
Ingredients:
1 whole chicken (3 lbs-ish)
1 bay leaf
Kosher Salt
2 peppercorns
2 sprigs of thyme (optional)
1 large carrot, roughly chopped
1 stalk celery, roughly chopped
1 slow cooker
1/4 cup water
Directions:
1. Place the carrots and celery in the bottom of the slow cooker.
2. Place the chicken in the slow cooker.
3. Add bay leaf, thyme, peppercorns, and water to the slow cooker.
4. Salt liberally with kosher salt.
5. Put the lid on, turn on the slow cooker to low and cook for 4
hours.
6. Remove just the chicken from slow cooker and strip all the meat
off the bones. Use this for chicken salad, sandwiches, fajitas, etc.
7. Place all the bones and skin back into the slow cooker and fill
with water.
8. Cook on low overnight, up to 24 hours.
9. Strain solids out of the stock.
10. Place stock in a container and refrigerate until the fat coagulates
on the top.
11. Skim off fat and store it in a mason jar in the fridge for future
cooking.
12. Now, your stock is ready to use or freeze! ( I usually get
between 4-6 cups per crockpot)
*This recipe is peanut-free, tree nut-free, dairy-free, egg-free, wheat-free, soy-free, fish-free, and shellfish-free. As always, check this ingredient list and your local products to make sure that this recipe is allergy safe for your family and/or friends!
Crock Pot Stock
Ingredients:
1 whole chicken (3 lbs-ish)
1 bay leaf
Kosher Salt
2 peppercorns
2 sprigs of thyme (optional)
1 large carrot, roughly chopped
1 stalk celery, roughly chopped
1 slow cooker
1/4 cup water
| Stock bubbling away - I wish you could smell it! Yum! |
Directions:
1. Place the carrots and celery in the bottom of the slow cooker.
2. Place the chicken in the slow cooker.
3. Add bay leaf, thyme, peppercorns, and water to the slow cooker.
4. Salt liberally with kosher salt.
5. Put the lid on, turn on the slow cooker to low and cook for 4
hours.
6. Remove just the chicken from slow cooker and strip all the meat
off the bones. Use this for chicken salad, sandwiches, fajitas, etc.
7. Place all the bones and skin back into the slow cooker and fill
with water.
8. Cook on low overnight, up to 24 hours.
9. Strain solids out of the stock.
10. Place stock in a container and refrigerate until the fat coagulates
on the top.
11. Skim off fat and store it in a mason jar in the fridge for future
cooking.
12. Now, your stock is ready to use or freeze! ( I usually get
between 4-6 cups per crockpot)
As always, from The Allergy Safe Kitchen, I wish you "Good Cooking, and Safe Eating"!
Labels:
chicken,
comfort food,
cooking,
crock pot,
dairy-free,
easy meal,
egg-free,
gluten-free,
learn to cook,
nut-free,
peanut-free,
recipe,
slow cooker,
stock,
winter food
Saturday, January 11, 2014
Coleslaw
Coleslaw is our "Super Easy Side" regularly. Crunchy, sweet, tangy, and soooo easy! This is a great way to get more veggies onto your children's plates.
Traditional recipes for cole slaw call for copious amounts of mayonnaise, which, of course, has eggs in it. I bypass that problem by using the amazing Follow Your Heart Vegenaise! Let's be honest, some mayo substitutes just taste gross. We've tried our share of yucky ones! Follow Your Heart Vegenaise tastes great and is a direct substitute for mayonnaise. There are several different varieties, but my whole family prefers the Original!
I usually make coleslaw the night before I intend to serve it. It needs to sit at least 2 hours before serving, and I can cut down on dinner prep time by making it the night before. Because this recipe involves very little chopping, and a lot of whisking and mixing, this is a great time to get the kids in the kitchen with you to learn how to cook! Hand over that whisk and let them have at it!
*This recipe is peanut-free, tree nut-free, dairy-free, egg-free, wheat-free, fish-free, and shellfish-free. As always, check this ingredient list and your local products to make sure that this recipe is allergy safe for your family and/or friends!
Tuesday, January 7, 2014
Snow Day Muffins
We are in the middle of a blizzard today! The wind chills are in the negative 30s and it is snowing sideways! To celebrate our family snow day, we made Snow Day Muffins! Just make your favorite muffin recipe and dust the top with powdered sugar (snow!), it's that simple to make the little ones feel special! We made cranberry sauce muffins and used some leftover snowman cupcake picks to really make it feel like a spectacular winter holiday.
*This recipe is peanut-free, tree nut-free, dairy-free, egg-free, fish-free, and shellfish-free. As always, check this ingredient list and your local products to make sure that this recipe is allergy safe for your family and/or friends!
Labels:
allergy mom,
baking,
cranberry,
dairy-free,
egg-free,
muffins,
peaunut-free,
recipe,
snow day,
winter food
Tuesday, December 17, 2013
Top Ten Stocking Stuffers! All under $15!
Stuff the Stockings With Kitchen Gear!
We're getting very close to Christmas and I know that some of you are looking for awesome stocking stuffers. Here are 10 of my favorites that just might make Christmas a little more merry for the cook in your household! And here's the bonus: they're all under $15!
Number 1: My book, of course! "Love Letters from My Kitchen"
is a wonderful gift for anyone in your family, or in your
life who bakes, or wants to bake, for someone with food
allergies. Cookies, breads, cakes, waffles, brownies, and
more, it's all in here!
Number 2: Unique measuring spoons! Add some charm or color to
the baking experience. This double-sided, rainbow-
colored set nests and clicks together, so I'm never
searching through the drawer for the elusive 1/4
teaspoon. The elongated bowl of the narrow end is
perfect for fitting into spice jars!
Number 3: Microplane! I adore my microplane. I use it most often
for zesting citrus, grating nutmeg, and grating fresh
ginger.
Number 4: Silicone baking mats! These are a must for a budding
or serious baker. Cookies slide off easily no matter how
sticky or delicate. Eliminate the need for parchment
paper, and make clean-up easier with these mats. The
mini-marshmallows in my "Mega-Mash-Up
Cookies" (page 42 "Love Letters from My
Kitchen") stay perfectly gooey and manageable when I
bake them using my silicone mat!
Number 5: Curious Chef products! Do you have a young chef-in-
the-making in your home? Curious Chef products are
durable and perfectly sized for little helpful hands. The
line includes mixing spoons, spatulas, knives, aprons,
measuring spoons and cups, peelers, whisks, cookie
cutters, oven mitts, and more! My kids love to help me
cook dinner and make dessert, they each have their own
little knife and spoon set of Curious Chef tools. Kids
with food allergies need to know how to cook, so get
them in the kitchen with you!
Number 6: Non-stick spatulas! Choose a set that has one larger and
one smaller spatula. You'll use both for different
applications in baking and cooking. I like that these
sturdy red spatulas are one piece construction, because I
have been known to snap the tops off of cheaper ones
with my vigorous stirring!
Number 7: Glass bottles with rubber stoppers! These beauties are
perfect for making and storing homemade salad
dressings, and making your own extracts.
Number 8: Cookie scoops! My kids love these scoops almost as
much as I do. My favorite sizes are 3 Tablespoon (size
20) for muffins and cupcakes, and 2 teaspoon (size 60)
for any manner of drop cookie. Ensure consistent
results by using scoops for uniform baked goods!
Number 9: Off-set spatula! Get a few in a variety of sizes! Perfect
for smoothing frosting, or gently moving rolled out
dough to a baking sheet.
Number 10: Organic Vanilla beans! I always try to have a few high
quality, organic vanilla beans on hand for making
"Honey Vanilla Spread" or just boosting vanilla flavor
in my baked goods. Buy a glass bottle and some
vanilla beans, then package as set for
making homemade vanilla extract. (You can find a
recipe for both "Honey Vanilla Spread" and vanilla
extract in my cookbook, "Love Letters from
Happy Shopping! Now, go fill some stockings!
As always, from The Allergy Safe Kitchen, I wish you "Good Cooking, and Safe Eating"!
Subscribe to:
Posts (Atom)