
Showing posts with label comfort food. Show all posts
Showing posts with label comfort food. Show all posts
Monday, October 27, 2014
Chicken Pot Pie-less
It's Meal Monday! Today's meal is "Chicken Pot Pie-less!" This is exactly what is sounds like, except that it's allergy friendly for our family, and hopefully yours! I particularly like this recipe, because it's easy to adapt. The veggies that I list in the ingredients are not the only ones that make a delicious pot pie-less, use whatever you have! Think of this recipe as a flexible guideline, not a "set in stone" scientific procedure.

Sunday, October 26, 2014
Biscuits - Dairy free, Egg free, and Delicious!
 |
| I know you can't tell in this picture, but they're still warm here. Are you drooling yet? |
This biscuit recipe is peanut-free, tree nut-free, dairy-free, egg-free, fish-free, and shellfish-free. As always, check this ingredient list and your local products to make sure that this recipe is allergy safe for your family and/or friends!
Steps marked with an asterisk (*) are child friendly!
Click HERE for more information!
2 cups unbleached all-purpose flour
2 teaspoons aluminum-free baking powder
4 Tablespoons cold butter flavor vegetable shortening (I rarely recommend the butter flavor shortening, but, in my opinion, it makes difference in this recipe.)
1/2 teaspoon salt
1 Tablespoon granulated sugar (organic if possible)
1/2 cup flax milk*
1/4 cup Seltzer water
Directions:
- Preheat oven to 400 degrees F.
- *In a large mixing bowl, whisk together flour, baking powder, salt, and sugar.
- *Cut shortening into the flour mixture using a pastry cutter, or your fingertips. Be careful not to make the mixture too warm with your hands.
- *Slowly add the flax milk and seltzer water, stirring just until a soft dough is formed.
- *Turn dough mixture out onto a lightly floured surface, and knead together BRIEFLY, just until the dough comes together enough to roll out. Too much kneading will make the biscuit tough, you don't want to develop the gluten.
- *Roll the dough gently to 1/2 inch thick, and cut with a 2 inch biscuit cutter.
- Bake on a baking sheet for 12 - 15 minutes.
- Serve while still warm!
You may substitute any other non-dairy milk of your choice here, although, I have not had great results with rice milk in this particular recipe.
As always, from The Allergy Safe Kitchen, I wish you "Good Cooking, and Safe Eating"!
Monday, October 20, 2014
Cauliflower Potato Soup

This soup is great on it's own or as a base for other dishes! I serve it as a meal with some freshly baked bread, oyster crackers, or a salad. It's creamy and mild, which also makes it a great base for my "chicken-pot-pieless", casseroles, or any other "cream-based" soups that you might want to make dairy-free!
*This soup recipe is peanut-free, tree nut-free, dairy-free, egg-free, soy-free, wheat-free, gluten-free fish-free, and shellfish-free. Top 8 Allergen Free! I've also included a vegan option! As always, check this ingredient list and your local products to make sure that this recipe is allergy safe for your family and/or friends!
Monday, October 13, 2014
Turkey Slop - I swear, it's better than it sounds.
When I was in high school, there was one meal that was legendary, and we called it "Turkey Slop." This might sound like a questionable moniker, but in reality there's just nothing wrong with a scoop of mashed potatoes, scooped out with an ice cream scoop, and hot gravy...with the Turkey. Right. In it. This is the warm comforting goodness of a Thanksgiving meal at its most efficient.

I have taken this humble meal and elevated it to a Fall family favorite in our home. As soon as the leaves start to turn, and the air gets a little chillier, the kids start begging me to make Turkey Slop. And yes, I do use an ice cream scoop to dish out the mashed potatoes.
*This recipe is peanut-free, tree nut-free, dairy-free, egg-free, soy-free (using soy free Earth Balance), fish-free, and shellfish-free. As always, check this ingredient list and your local products to make sure that this recipe is allergy safe for your family and/or friends!
If you already have tried and true recipes for roast turkey, mashed potatoes, and gravy, then simply chop up the turkey meat and add it to the gravy. Serve over mashed potatoes! If you don't know how to roast a turkey, or need some assistance in the gravy department, keep reading! If you need a recipe for mashed potatoes, click HERE!
Ingredients for Simple Roast Turkey:
Whole turkey (I like to stay under 12 pounds)
Kosher Salt
Ground Black Pepper
Olive Oil
1/2 onion
1/2 lemon
Directions for Simple Roast Turkey:
*I make the turkey the day before I want to serve the turkey slop. No need to try to do everything all in one day! Relax, take your time, enjoy the process!
- Make note of how many pounds your turkey is before you throw away the packaging.
- Remove neck and giblet pack from turkey
- Place the turkey, breast side up, in a roasting pan, pat the outside dry with paper towels.
- Let the turkey sit (out on the counter) for about an hour (this will dry the skin out a bit, and yield a crispier skin, and bringing the meat closer to room temperature will yield a juicier turkey!)
- Preheat oven to 450 degrees F
- Season the cavity with kosher salt and pepper
- Stuff cavity with 1/2 an onion and 1/2 a lemon
- Rub outside of turkey with olive oil and season liberally with kosher salt and pepper
- Roast at 450 for 20 minutes, and then reduce heat to 350 degrees F
- Continue roasting 13-15 minutes per pound at 350. *If the outside seems be getting too brown near the end of cooking, cover the breast of the turkey with some foil.
- Insert a meat thermometer into the outer thigh, inner thigh, and breast. All places should have a temperature of 165 degrees F or above.
- Let the turkey rest before carving!
Ingredients for Simple Turkey Gravy:
*I make the stock early in the day.
Turkey stock (Click HERE for a crock pot stock recipe - substitute the word "turkey" every time you see the word "chicken")
Flour
Fat (dairy-free margarine, canola oil, turkey fat skimmed from the top of the turkey stock, schmaltz, etc.)
Directions for Simple Turkey Gravy:
To make a delicious gravy in a large amount or small amount, you need only memorize a simple formula: 2T fat + 2T flour + 1 cup stock = gravy!
- First, know how many cups of stock you have to work with, that will determine how much roux you will need to make.
- Heat your stock to a gentle boil and in the meantime....
- Make your roux. The roux is the thickening agent, it is the combination of the fat and flour, cooked together. (Cooking the flour in the fat gets rid of that raw flour taste, and allows it to incorporate more smoothly into the stock.)
- To make the roux, melt/heat the fat in a saucepan, and whisk in the flour. *Equal parts fat and flour! Cook for a couple minutes.
- Whisk the roux slowly into the stock and then bring the whole thing to a simmer. It will start to thicken right away, and you can continue simmering away to continue thickening.
- Check your seasoning - gravy requires a decent amount of salt and pepper!
- Add in the chopped turkey and serve over a scoop of mashed potatoes!
 |
| Trust me, this is heaven in a pot! |
As always, from The Allergy Safe Kitchen, I wish you "Good Cooking, and Safe Eating"!
Saturday, July 12, 2014
Kicked Up Sloppy Joes

Who doesn't love Sloppy Joes? This is an often requested dinner in our house. Here's my original recipe for Kicked Up Sloppy Joes. I replace the "pre-made" Manwich sauce with tomato sauce and spices for a relatively additive-free meal! I also use organic ground beef for a more tender texture and frankly, better flavor. (Ground turkey works well too.) Organic meats can be expensive, but buying organic ground meat is a budget conscious way to get a higher quality meat into the menu rotation, even for a big family like ours!
*This recipe is peanut-free, tree nut-free, dairy-free, egg-free, gluten-free, soy-free, fish-free, and shellfish-free. As always, check this ingredient list and your local products to make sure that this recipe is allergy safe for your family and/or friends!
Ingredients:
2 pounds organic ground beef
1 15oz.can tomato sauce
1 15 oz. can fire roasted diced tomatoes
3 Tbsp. Tomato paste
1/2 tsp onion powder
1/2 tsp garlic powder
1 red bell pepper, diced
1 yellow bell pepper, diced
1 poblano pepper, diced
1 large sweet onion, diced
4 cloves minced garlic
chopped parsley
kosher salt
Directions:
1. In a large skillet, brown the ground beef. Remove from skillet,
and set the beef aside.
2. Sauté peppers and onions until slightly softened.
3. Add garlic and sauté for 1 more minute.
4. Add beef back into the skillet.
5. Add 2 cans tomatoes, onion powder, garlic powder, and a
hefty pinch of kosher salt.
6. Heat through, finish with parsley and serve! (Serve on top of
your family's favorite buns!)
As always, from The Allergy Safe Kitchen, I wish you "Good Cooking, and Safe Eating"!
Friday, June 6, 2014
Can I make you a meal?
Food is a language. We speak it in our family, our community, our culture. We speak a language of celebration through food at birthday parties, holidays, awards banquets, date nights, graduation dinners, and any number of accomplishments that deserve a "special meal". We speak a language of community through food in church potluck suppers, fundraiser pancake breakfasts and spaghetti dinners, neighborhood barbeques. Every culture is loaded with food that speaks a distinctive language of spices, textures, techniques, and flavor profiles. The tradition of breaking bread together is universal. It strengthens the bonds of a family, or of a community, of a culture.
So what happens when food allergies change the way we participate in that food conversation? Well, a lot happens. People may feel left out, put out, worn out, and decide to just sit it out. I'm sure we could share countless stories of family members and friends who just don't understand, church or school functions that become a stressful maze of dangers to be navigated, and traditions that seem impossible to carry on and pass down in a safe way. The honest truth is that the weight of food allergies is sometimes heavy and burdensome. Sometimes the weight of life events are heavy and burdensome too, or in other cases, happily unwieldy. When that happens, my instinct is to cook. To nourish and feed the soul through food.
I don't know about you moms out there, but nearly every "moms group" I have ever belonged to has a well oiled automatic "food brigade" that rolls into action with every birth, death, and major life event in the families of the member moms. "Judy had her baby? I'll make her a meal!", "Norma's father died? I'll make a meal for her.", "Susie's husband will be out of town for a month? I'll bring her a meal while he's gone!"... does any of this feel familiar?
When we had our twins, so many people asked if they could cook for us, and truthfully, most of the time I turned them down. It's too hard to know if someone REALLY understands that "just a little", or even just cross-contamination could send us to the ER. Nearly all the women whose offerings I accepted and fed to my family have food allergic children of their own. Unfortunately, the people who offer and get turned down get their feelings a little hurt, and that's not good either. So what's the answer? Well, there are a few ways to handle this without hurt feelings, and without isolating yourself and your family in times of "big life stuff".
First, get prepared for the people who want to help, but don't understand how to safely cook for your family. Make a list. Make a list of things that would be helpful that don't include cooking. The list might include things like:
- taking your kids to the park, to give you a break,
- coming over in the evening and folding laundry with you and
keeping you company,
- ask if they would be willing to go to the grocery store for you,
- in the case of a death in the family - ask a few close friends to
make phone calls for you,
- in the case of a birth, ask someone to come and hold the baby so
you can take a shower!
- anything that would ease your burden or make life a little easier.
Then, get prepared for the people who want to help, and that you trust to cook for your family. Have a file saved on your computer that lists your family's food allergies. When someone you trust to cook, calls and says "Can I make you a meal?" say YES!, and send them the file as a reminder of the foods that need to be avoided.
Last, but not least, cook for others! We all build up that network of food allergy families in our lives, so be sure to cook for them when the going gets tough! They are probably saying "no" to countless, well-meaning friends, so be the friend they can say "yes" to!
Here are my tips for making a meal for a food allergy family:
- Ask for a list of foods to avoid.
- Use new containers of ingredients if possible, to avoid the risk of
cross-contact.
- Double check the labels on all ingredients you will use.
- Make something freezer-friendly.
- Freeze in a family sized portion, and also in a few individual sized
portions so a family member can grab a quick hot lunch. (This is
especially helpful for new moms, and nursing moms!)
- Use disposable freezer containers so no one has to get a dish back
to you!
- Write out the list of ingredients (including brands), or the recipe, and attach it to themeal, so the family knows exactly what's in the meal. During times of stress, what you say on the phone or at the door about the ingredients might not be remembered when it's time to make dinner.
As always, from The Allergy Safe Kitchen, I wish you "Good Cooking, and Safe Eating"!
Wednesday, March 5, 2014
Epic Tomato Soup

*This recipe is peanut-free, tree nut-free, dairy-free, egg-free, fish-free, and shellfish-free. As always, check this ingredient list and your local products to make sure that this recipe is allergy safe for your family and/or friends!
Ingredients:
4-5 TBSP bacon fat
4 finely diced onions
6-8 cloves of garlic
8 cups chicken or vegetable stock
2 28oz. cans San Marzano tomatoes
Pinch crushed red pepper flakes
1 cup orzo or ditalini pasta
2 TBSP corn starch mixed with 2 TBSP cold flax milk
2 tsp Kosher salt
Directions:
1. In a large Dutch oven, heat the bacon fat. Add onions and cook
on medium-low until soft and just golden. 10-15 minutes,
stirring occasionally. Add garlic and crushed red pepper flakes,
and cook for one more minute, just until garlic becomes fragrant.
2. Before adding in San Marzano tomatoes, break them up by hand
in separate bowl. Then add to the Dutch oven along with the
chicken stock and salt.
3. Bring the soup to a boil and lower the heat. Simmer for 15
minutes.
4. While soup is simmering, bring a medium pot of water to a boil
and cook pasta for 7 minutes.
5. Drain pasta and add to soup.
6. Cook for 8 more minutes, stirring frequently.
7. Make the slurry of corn starch and flax milk in a small cup. Stir
into the soup and continue to cook for 2-3 more minutes.
Serve with toast for dipping, or oyster crackers. Or, if you want to be classic, make a grilled "cheese" sandwich with Follow Your Heart Vegan Mozzarella Cheese! (use olive oil in place of bacon fat for a vegan soup)
I'm telling you, the balance of the smokiness from the bacon fat, the richness of the San Marzano tomatoes, and the small bit of heat from the crushed red pepper flakes will have you going back for seconds! Enjoy!
.
As always, from The Allergy Safe Kitchen, I wish you "Good Cooking, and Safe Eating"!
Friday, January 24, 2014
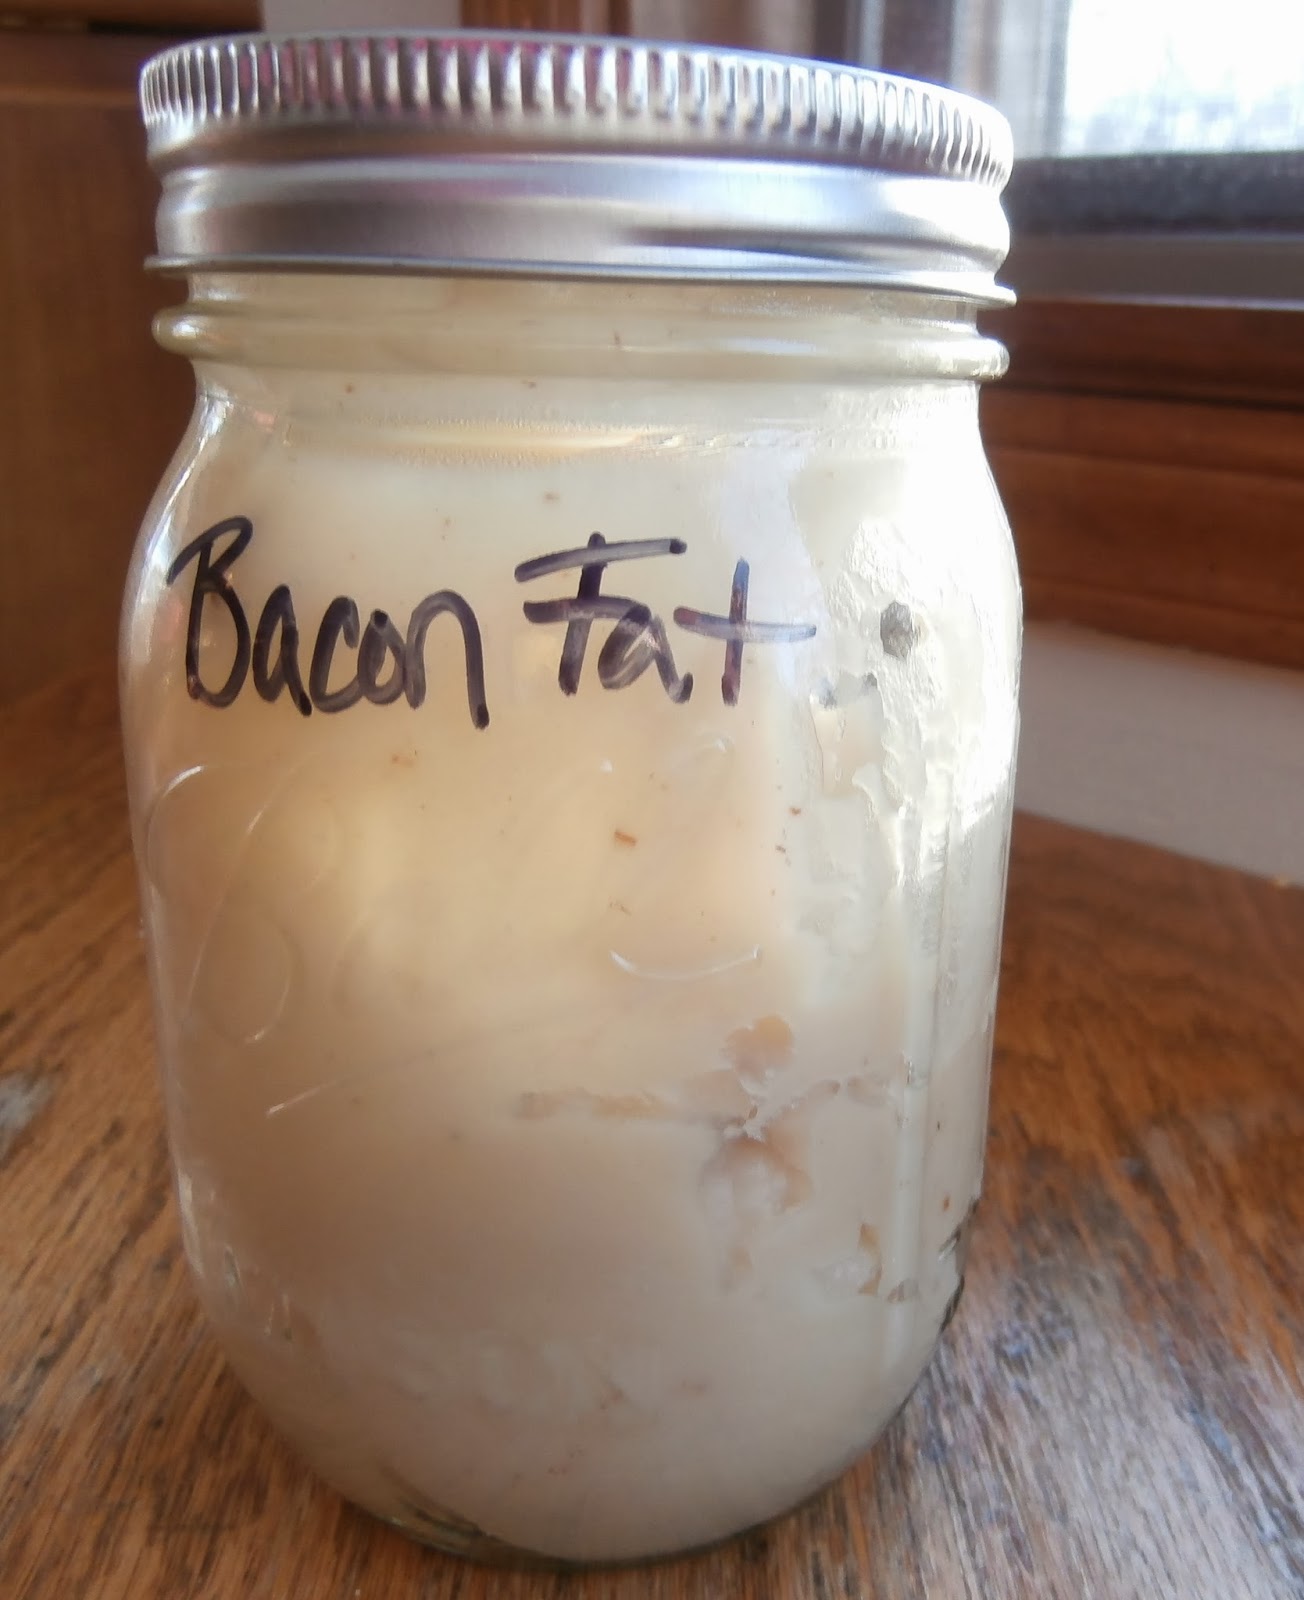
The Most Valuable Freebie in my Kitchen...
There is one food "freebie" that I use religiously in my kitchen. It is...bacon fat! I'm going old school right now, and suggesting that all of you, my dear readers, maintain a jar of bacon fat. Once you start cooking with it, you'll be seeing that beautiful white deliciousness as culinary gold.

To collect it, simply drain the fat out of the pan, or out of one of those nifty microwave bacon racks, into a heat safe container, I usually use a bowl. Allow the fat to cool a bit before moving it to a mason jar. Then, cover and store. I prefer to store mine in the fridge, but you could store it in the freezer if you have a copious amount that you won't use within a month or so.
There are two camps on whether or not to strain out the little brown bits from your bacon fat. Some cooks always strain it, and some never do. If you are going to use it fairly quickly, I vote to leave those golden brown bits in for the extra flavor they bring to the party. However, if you'll be storing the fat for a while, strain them out, as they contribute to turning the fat rancid more quickly.
 |
| Apple Maple Chicken Sausage browned with bacon fat. Breakfast doesn't get much better than this. |
*I also suggest using organic bacon. Yep, I used the "o" word. Calm down, I know, I can hear you now..."It's so expensive!" Yes, it is a bit more pricey than "regular" bacon, BUT, you are getting a quality product that does not contain synthetic chemicals, additional nitrites and nitrates, or GMO laden ingredients. AND if you save the rendered fat, you'll have beautiful organic cooking fat for other dishes. This is one instance where I recommend consistently buying organic.
As always, from The Allergy Safe Kitchen, I wish you "Good Cooking, and Safe Eating"!
Friday, January 17, 2014
Crock Pot Stock
For years, I've been making delicious homemade chicken stock in my giant pot. And, if I need a LOT all at once, I'll still do it that way. But, recently, I've started making amazingly rich stock while I sleep. Yep, while I sleep. This isn't some kind of domestic diva transcendence, I'm just putting that workhorse of the kitchen to good use: the humble slow cooker, a.k.a. the crock pot. I make one or two whole chickens per week in the crock pot. I use them for chicken salad, sandwiches, for chicken with pasta, to provide tender meat for the babies, etc. I have done this for a long time, and I always got a little bit of concentrated stock in the bottom of the crock pot. In the past I would save it, freeze it, and then add it to the "big pot" when making a big batch of stock. No more, readers, No. More. Now I have realized I can get a whole crock pot full of that amazing, concentrated stock with very little extra effort! Here's how:
*This recipe is peanut-free, tree nut-free, dairy-free, egg-free, wheat-free, soy-free, fish-free, and shellfish-free. As always, check this ingredient list and your local products to make sure that this recipe is allergy safe for your family and/or friends!
Crock Pot Stock
Ingredients:
1 whole chicken (3 lbs-ish)
1 bay leaf
Kosher Salt
2 peppercorns
2 sprigs of thyme (optional)
1 large carrot, roughly chopped
1 stalk celery, roughly chopped
1 slow cooker
1/4 cup water
Directions:
1. Place the carrots and celery in the bottom of the slow cooker.
2. Place the chicken in the slow cooker.
3. Add bay leaf, thyme, peppercorns, and water to the slow cooker.
4. Salt liberally with kosher salt.
5. Put the lid on, turn on the slow cooker to low and cook for 4
hours.
6. Remove just the chicken from slow cooker and strip all the meat
off the bones. Use this for chicken salad, sandwiches, fajitas, etc.
7. Place all the bones and skin back into the slow cooker and fill
with water.
8. Cook on low overnight, up to 24 hours.
9. Strain solids out of the stock.
10. Place stock in a container and refrigerate until the fat coagulates
on the top.
11. Skim off fat and store it in a mason jar in the fridge for future
cooking.
12. Now, your stock is ready to use or freeze! ( I usually get
between 4-6 cups per crockpot)
*This recipe is peanut-free, tree nut-free, dairy-free, egg-free, wheat-free, soy-free, fish-free, and shellfish-free. As always, check this ingredient list and your local products to make sure that this recipe is allergy safe for your family and/or friends!
Crock Pot Stock
Ingredients:
1 whole chicken (3 lbs-ish)
1 bay leaf
Kosher Salt
2 peppercorns
2 sprigs of thyme (optional)
1 large carrot, roughly chopped
1 stalk celery, roughly chopped
1 slow cooker
1/4 cup water
 |
| Stock bubbling away - I wish you could smell it! Yum! |
Directions:
1. Place the carrots and celery in the bottom of the slow cooker.
2. Place the chicken in the slow cooker.
3. Add bay leaf, thyme, peppercorns, and water to the slow cooker.
4. Salt liberally with kosher salt.
5. Put the lid on, turn on the slow cooker to low and cook for 4
hours.
6. Remove just the chicken from slow cooker and strip all the meat
off the bones. Use this for chicken salad, sandwiches, fajitas, etc.
7. Place all the bones and skin back into the slow cooker and fill
with water.
8. Cook on low overnight, up to 24 hours.
9. Strain solids out of the stock.
10. Place stock in a container and refrigerate until the fat coagulates
on the top.
11. Skim off fat and store it in a mason jar in the fridge for future
cooking.
12. Now, your stock is ready to use or freeze! ( I usually get
between 4-6 cups per crockpot)
As always, from The Allergy Safe Kitchen, I wish you "Good Cooking, and Safe Eating"!
Tuesday, May 28, 2013
"Supermom Cinnamon Rolls", Sunday Mornings Will Never be the Same!

The welcoming smell of cinnamon, the feel of sweet orange icing oozing over fingertips, the decadent warmth of a cinnamon roll on a Sunday morning before the kids get up... Ok. Stop drooling, I'll share my secret to making this blissful scene a reality - without any dairy, eggs, or nuts! My secret?
Tuesday, January 22, 2013
Serious Comfort Food Series - Potato Leek Soup
Potato Leek Soup
This is a wonderful, hearty, healthy soup for a cold day. My kids actually request leftovers the next day! There isn't any dairy in this recipe, and yet blending the soup with an immersion blender yields a creamy potato texture. Substitute vegetable stock for chicken stock for a vegan soup. This Potato Leek Soup recipe freezes and defrosts beautifully, so make a pot and save some for later! |
|||||||||

| *This recipe is peanut-free, tree nut-free, dairy-free,
egg-free, soy-free, wheat-free, fish-free, and shellfish-free. Top 8 Free! As always,
check this ingredient list and your local products to make sure that this
recipe is allergy safe for your family and/or friends! |
Tuesday, January 15, 2013
Serious Comfort Food Series - Sorbet Fruit Cup
Sorbet
Fruit Cups
When I
was a little girl, my doctor said that the best thing for a sore throat was ice
cream. My six-year old self loved him
for that! But, with several dairy-allergic children, ice cream is not a
possibility. Sure, there are great
soy-based alternatives, and even some coconut-based frozen treats, but they are
in very tiny, very expensive containers.
I needed something that would be lower cost, safe, and maybe even
healthy! Made with only ½ cup of sugar
for the entire batch, this recipe is healthy and packed with goodies like
vitamins and antioxidants from the fruit! I came up with these Sorbet Fruit
Cups and the kids loved them!!!
*This recipe is peanut-free, tree nut-free, dairy-free,
egg-free, wheat-free, gluten-free, soy-free, fish-free, and shellfish-free. As always, check this
ingredient list and your local products to make sure that this recipe is
allergy safe for your family and/or friends!
 |
| Getting ready to make sorbet! |
Saturday, January 12, 2013
Serious Comfort Food Series - Cream of Broccoli Soup
In honor of this flu and cold season, I'm going to post a series of comfort food recipes. Often our favorite comfort foods are easy foods from a can, a box, or the freezer section; mac and cheese, any variety of soup, flavored noodle dishes, or frozen bag meals. Just as often, these "pre-made" meals contain ingredients that are unfriendly or dangerous for those with food allergies. Make these flavor - packed, comfort food recipes and freeze in individual containers for an easy, safe meal when the "sickies" strike your family!
Let's kick off the "Comfort Food Series" with a personal favorite, Cream of Broccoli Soup. I am going to give you my basic recipe AND the ingredient substitutions to make a dairy-free version that is just as yummy!
Let's kick off the "Comfort Food Series" with a personal favorite, Cream of Broccoli Soup. I am going to give you my basic recipe AND the ingredient substitutions to make a dairy-free version that is just as yummy!
 |
| The version pictured here is non-dairy! Doesn't it look yummy and creamy? |
*This recipe is peanut-free, tree nut-free, dairy-free (if following substitution list),
egg-free, fish-free, and shellfish-free. As always, check this
ingredient list and your local products to make sure that this recipe is
allergy safe for your family and/or friends!
Subscribe to:
Posts (Atom)